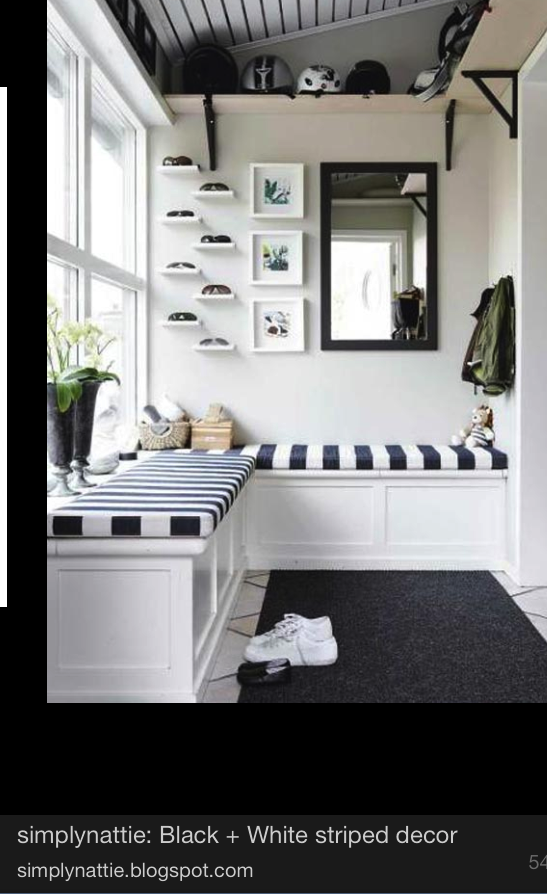
Ever looked at Black and White Striped furniture and fell in love? Well me too! Here’s how to take a boring old bench and fix it up using a canvas painters drop cloth and some fabric paint. But first…..my inspiration…..photo cred included.
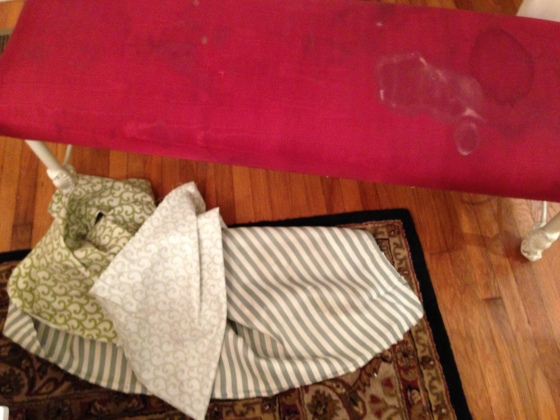
First with gloves, screwdriver, and pliers. Remove the old layers of crusty fabric.
- Like most old pieces, you will find layer upon layer of fabric, remove as much fabric and staples as possible. This piece had 3 previous fabrics underneath!

A canvas drop cloth is a great substitute for expensive fabrics. Especially since the burlap and linen look is so hot right now. This industrial grade canvas fits right in! Don’t buy anything with a weight lighter than 8oz.
Turn your piece over and start stapling in the middle of one side, then the other. Once the fabric is pulled evenly and tightly all the way around. Cut off any excess fabric. To finish the corners, pull and fold as if you are wrapping a present.
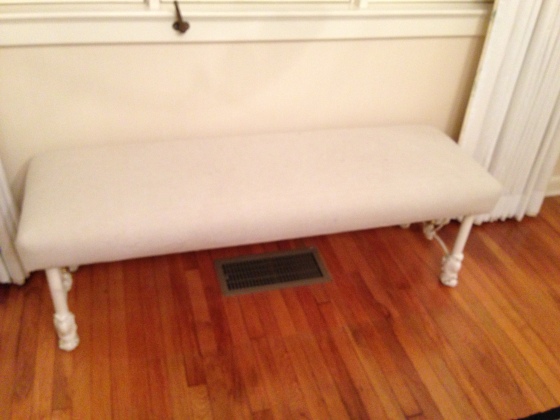
After you’ve finished stapling the piece…you can stop there if you want but I really wanted to re-create the black and white stripe look!
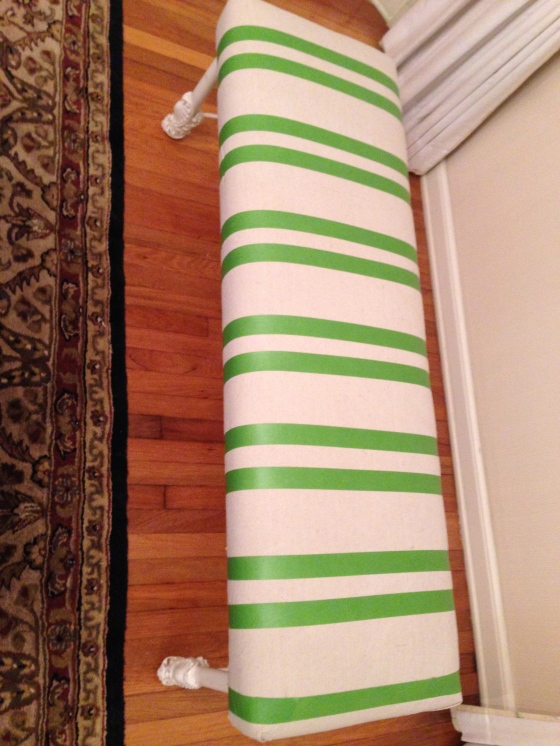
So an easy way to paint stripes furniture is with frog tape and a ruler. Figure out how wide you want each stripe to be and mark each accordingly and tape.
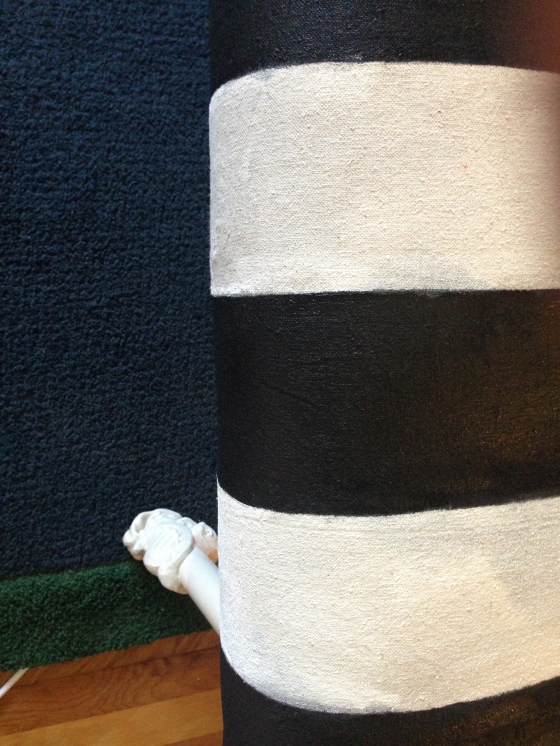
I used tulip fabric paint to paint the black stripes. WARNING! Don’t add water to fabric paint (I was being cheap and trying to cover more fabric with less paint and my perfectly measured stripes turned into ink blot stripes). Had I not ruined this bench by watering down the paint the black and canvas would have looked money! It’s okay. Keep reading…..I kept going and fixed my mistake.

I was obviously very upset at stupid mistake but I didn’t want to trash all the hard work that I had done so I picked up some white acrylic paint and watered it down a bit and painted the alternate stripes white
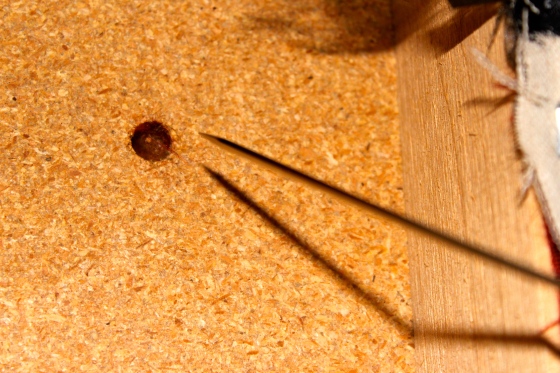
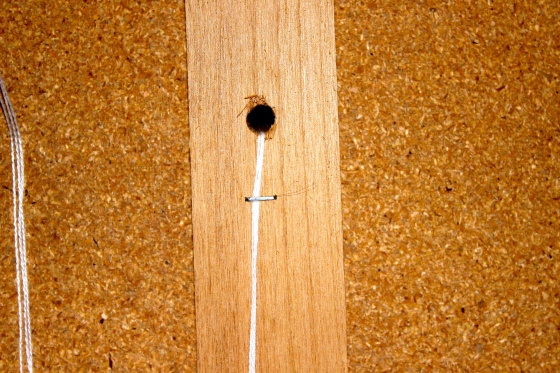
After I ripped off the bottom cover I saw a bunch of holes already drilled ready to go for tufting! Since this was my first tufting project I figured I was in luck since the holes were already drilled out for me 🙂 If your piece doesn’t have holes drilled measure out the holes and drill them in desired place.

It was my rainbow after the storm. A pleasant surprise awaited me after I took the bottom off…it revealed perfectly measured and drilled holes for tufting!
Next you will need upholstery buttons, long 12-16 inch upholstery needles, a staple gun, thick string, and gloves. I was able to find these salvaged upholstery buttons off ebay for a great deal!

Found off ebay! I thought about trying to cover the buttons myself but found these cuties and liked the idea of not having them match. They are all different fabrics, textures and colors
First, I turned the bench right side up and arranged the buttons where they would be permanently placed. Next thread your long needle withstring (16-20inches in length)
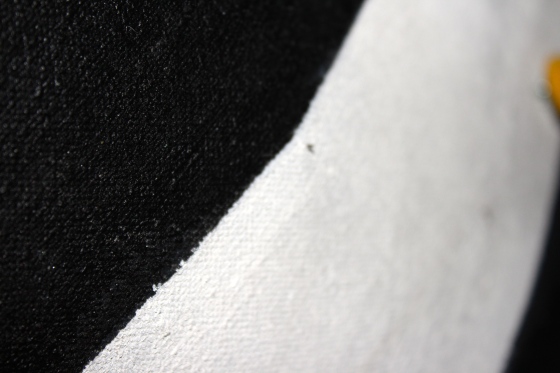
As the needle start to come through make sure it comes up where you want the button placed. The needle can move around if it isn’t pushed through straight.

Once the needle is through, thread the button and put the needle back through the same hole you used.
Repeat the process with the remaining buttons!
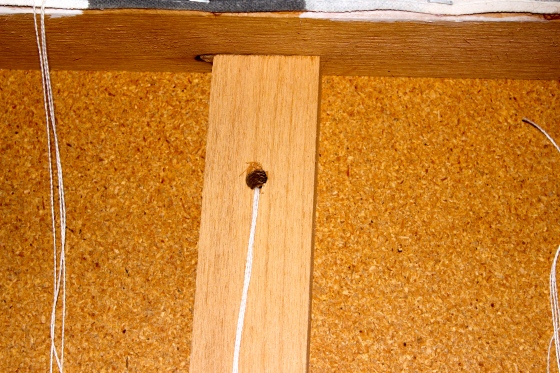
wearing gloves, pull the button as tight as you can and staple in place. It helps if you stand on the area for extra padded tuft look
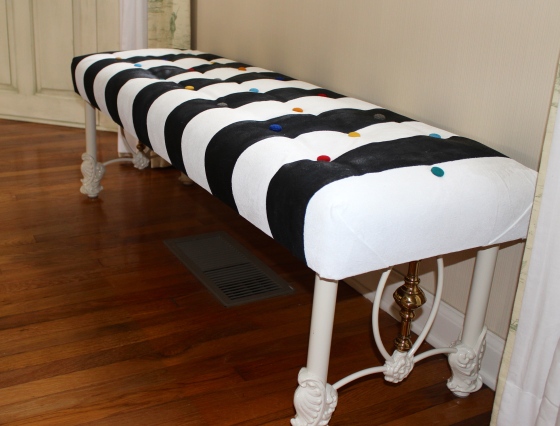
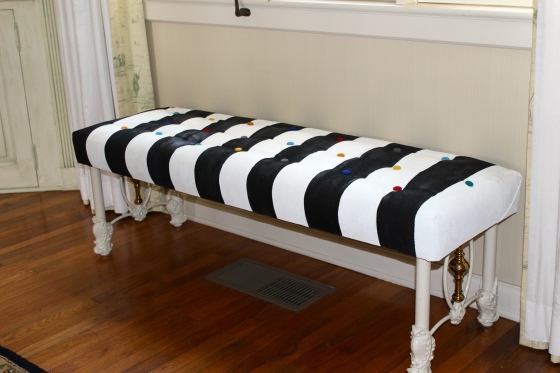
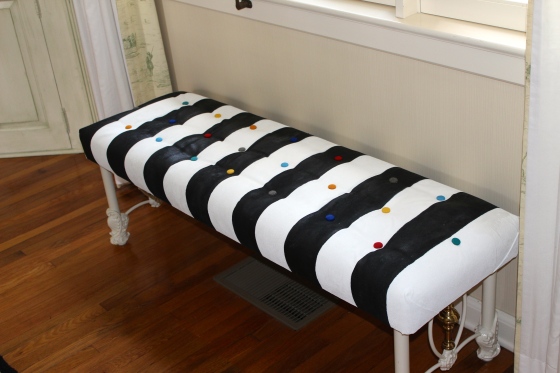
And Ta-Da! Your ugly crusty bench becomes a black and white striped masterpiece!













Pingback: Stacy’s Top Picks Refreshing DIY Re-Upholstered Furniture | Stacy's Club
Pingback: Top 10 Refreshing DIY Re-Upholstered Furniture | Viseem
Pingback: Comfy Chair Series | Fabric Warehouse Direct Blog