Shabby Chic Vanity Goes Rock and Roll

Shabby Chic Vanity Goes Rock and Roll

I found this darling vintage drexel heritage vanity at a garage sale for $10. I know…I know…I couldn’t believe it either. I loved everything about it, the colors, the dainty legs, and the hidden mirror. But it looked like it … Continue reading

Martha Stewart Textured Metallic Paint

Martha Stewart Textured Metallic Paint

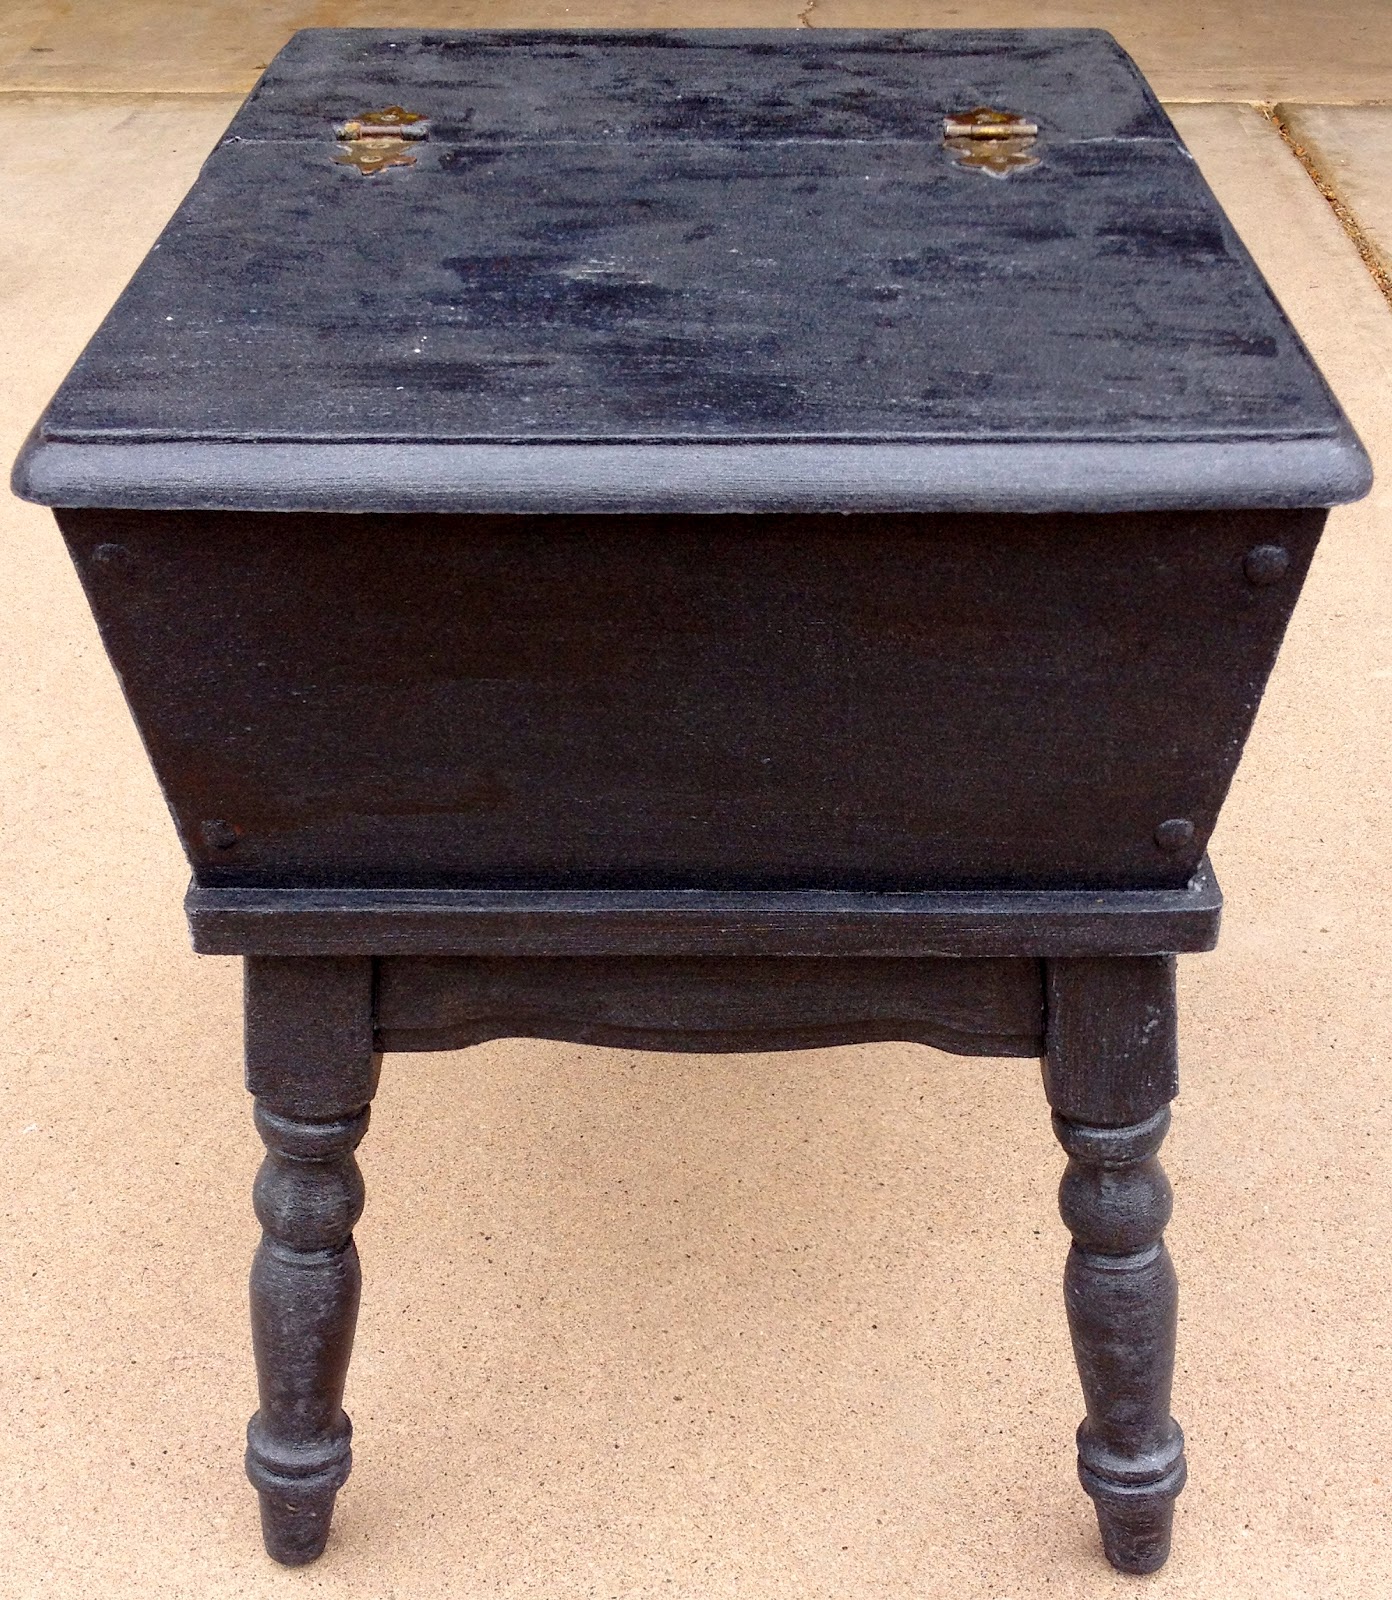
I was so excited to Martha Stewart Textured Metallic Paint in Lampblack, I thought it would make a cool finish on a vintage piece of furniture

The piece pictured was purchased at a garage sale for 5$ and was taken after I used my Ryobi hand sander to remove old paint. 

I used the primer/sealer that was recommended with the paint to prime and seal

I wouldn’t recommend using the Martha Stewart primer on top of the Lampblack Metallic Paint, it leaves thick coat and looks odd. 

As you can see the paint is very thick and the brush stroke are next to impossible to hide

If you were thinking about trying the MS  textured metallic paint, DON’T I can’t even imagine what this thick gloppy paint would look good on….maybe a flower pot but that’s about it. Save your $$$$

Martha Stewart Textured Metallic Paint is the worst and I wouldn’t recommend using it!

How Not to Use Martha Stewart Glitter Paint

What not to do when using the Martha Stewart Glitter Paint

If you are like me than you have wandered down the Marta Stewart paint section at Home Depot and ran into the Amazing-ly fun specialty paints Martha Stewart has. The Glitter purple finish immediately caught my eye!I found this sweet little table at a local garage sale for $4 bucks. It was white and was pretty plain (sorry I don’t have a before picture but just try to imagine).

This was my first time using the MS glitter paint so I used the primer/sealer specialty finish that is supposed to go with the glitter paint.

After the “primer” dried, I started coating the white furniture piece with the glitter paint. To my dismay I discovered that the paint was actually clear with purple glitter.

Determined to have a sparkly glitter-y piece of furniture I kept coating this piece. Literally 12 times I kept coating and coating the white piece until it started to actually look purple. I had to make a second trip to Home Depot to buy more purple glitter paint, I had already come so far I wasn’t going to stop now.


In the end it turned out with the desired affect I was looking for but I spent three times what it should have cost to decorate this silly piece of furniture.

But, even though this piece had months to dry, it still hasn’t you can’t set anything heavy on the dresser even still!I wish I would have read these blogs before I wasted so much time and money:

http://builditsewitloveit.blogspot.com/2012/01/diy-glitter-paint.html

http://www.ehow.com/way_5391011_adding-glitter-paint.html


http://www.youtube.com/watch?v=6ortBPokqF8I just SOLD the night stand / side table today for $35

The color turned out beautiful but never fully dried.

 I found this drawer liner at the Dollar Tree, I always love putting a drawer liner in all of my projects

 The original dresser had a two prong handle, I filled the two holes in with wood filler and painted over them. If you look very closely you can tell but it’s very hard. The cute pink knob came from target. They cost about $1.25 a piece. 

I painted the sides of the drawer in a glossy black.Â